

Digital marketing is nothing without accurate and measurable data. If you think plugging money over an over is what it takes, you’re set for a huge shock. Without getting key marketing metrics to understand actions that visitors are taking on your website, you wouldn’t make as much impact as you can.
One way to get that is through Google Tag Manager.
With it, you can track in Google (all in one place) various metrics and sections as website visitors interact with them. Sadly, for so long, it’s been harder to track other details that do not come provisioned with the software, until recently, when Google announced Google tag manager custom template.
Google Announces Custom Template For Tag Manager
Google tag manager in itself gets a lot of work done. But then, things have even gotten better with GTM with custom templates making it so exciting.

The Google tag manager custom template update allows you to develop and configure a tag and variable that might otherwise not be available in google tag manager. You can reuse and share this custom template that you have created.
This means that you don’t have to be a developer to create custom tags and variables. You can do so using a custom template, save it and deploy it, or make it available for your team and others to use.
Before we go more into that, I’ll explain what GTM is, ‘cos some of you haven’t heard of it at all.
What Is Google Tag Manager
Most websites have so many tracking tags. For example, you embed tags on the blog area to know how many visitors are coming in. Or maybe your contact form to know how many tried using it, or the number of people that have abandoned their shopping cart in your store.
These numbers help you plan what to do next, what part of your digital strategy is working, what needs to be edited, and what should be taken out completely. While that is all nice and dandy, placing tags all over your website code can break your site.
With google tag manager, you don’t have to place custom HTML tags on every single area of a website page that you need user insight from. You can add the GTM tag on the page, and then you edit or add a new tag from your GTM account to make the changes you want.
So, you can track every single action on your website, including link and page clicks, phone calls, and any other action that you want to understand how your customers are using your website.
Before I go any further, let’s understand what the few terms below mean:
Tags
Tags are code snippets that you can place within the source code of a website to enable Google, or any analytic service to collect data on the actions such as clicks, download and other activities that are taking place on the page.
Triggers

Triggers cause a tag to transmit data. Tags triggers can be phone calls, or clicks, downloads, and any action that you want to be identified and recorded. It is compulsory that at least one trigger is assigned to a tag so that your tags fire when that action is made. Triggers can be divided into events and variables.
Variables
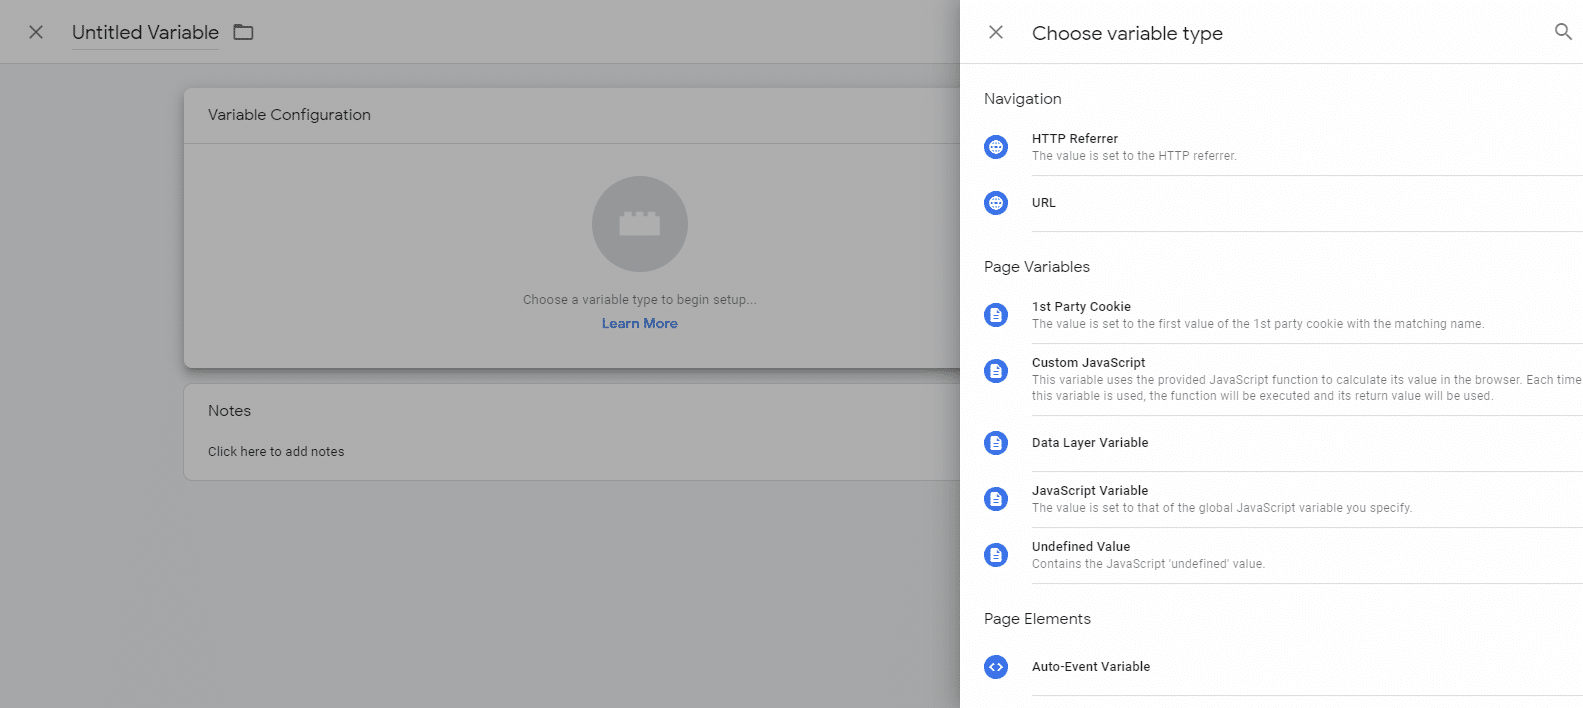
A variable is a set input value that defines where a tag would be fired to. Setting up a variable can help you record specific user actions that have to do with numbers. A common custom variable setup is google analytics tag.
I know, it seems dry and boring 🙂 but that’s why many people get developers to handle this stuff, but you can’t ignore it. It’s very useful.
Benefits Of Google Tag Manager
There are many benefits, and I’ll jump right in:
Use Google Tag Manager To Get Data And Save Time
GTM saves you a lot of time because you don’t have to rely on your development team all the time.
Due to the technicalities of placing tags on a page, you always have to rely on your tech team. (We all know how they can be). e.g., when you just need to quickly get data on a survey form added to your website.
GTM gives you an easy and user-friendly work interface that allows you to edit, remove, and add tags without having to tamper with your website source codes.
Your work can be delayed since you have to wait for someone else to handle tracking results. However, with GTM, you can do it yourself and have all the rules and time in your own hands, making you more efficient. Not using google tag manager can make you lose customers due to time wasted and lack of available data.
GTM Helps You Increase Site Traffic By Improving Your Loading Speed
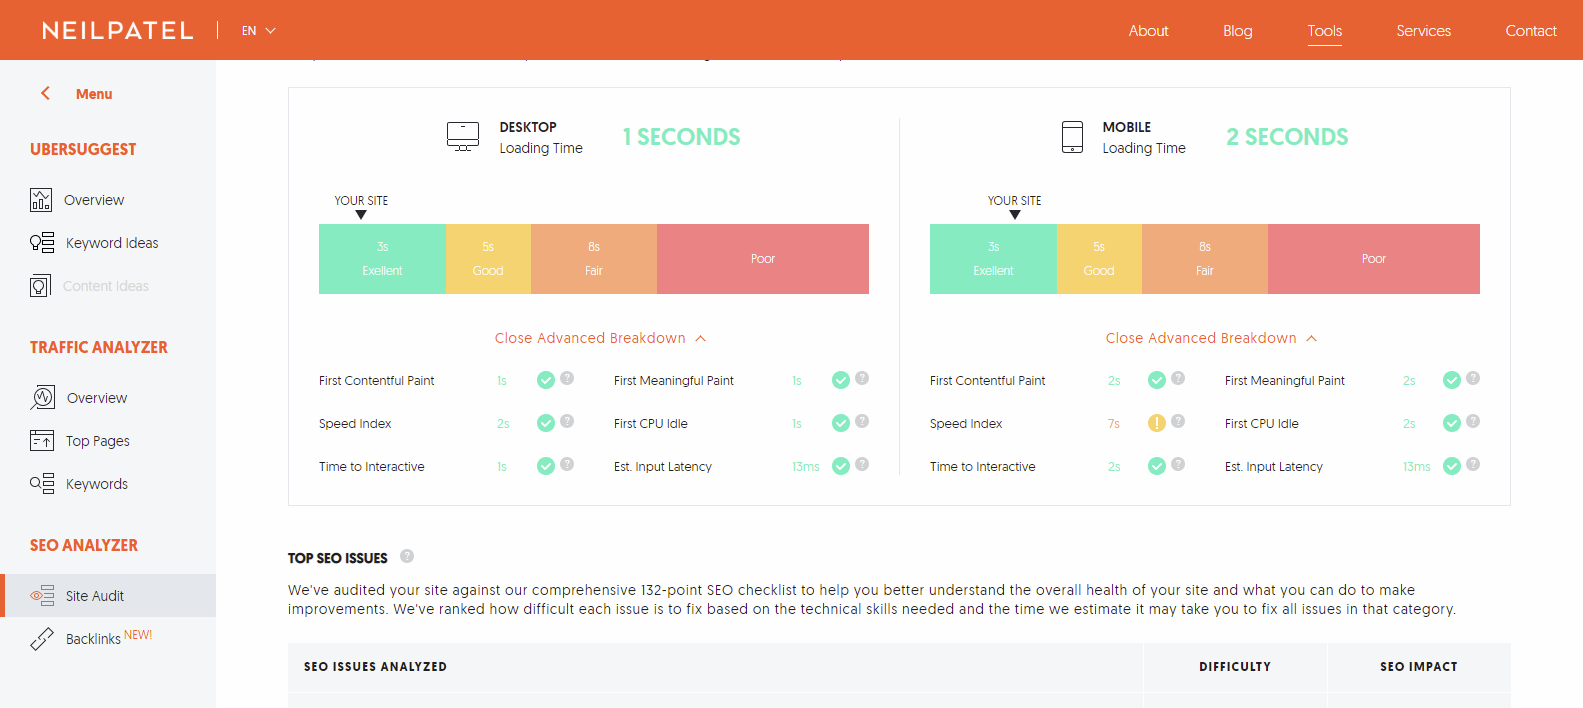
Placing tags on different pages of the website can cause the website to load much slower.
This is because all the tag codes would need to load together (synchronously), but GTM tags are already set by default to load asynchronously, which means that they don’t have to load at the same time.
This reduces the impact it has on your website load time.
Your load time needs to be fast, that’s a factor for search engine ranking, and visitors bounce rate. If anyone has to wait for ages for your website to load, they’ll leave. Click To TweetIt Connects Different Platforms
The great thing about Google tag manager is that it can be used for different platforms. You can use it to track insights from mobile apps, accelerated mobile page, and many software.
This is a great asset for mobile apps because you no longer have the issue of sending out an updated version just because you edited or added a tag. You can work on your tags from your google tag manager account and still maintain the same version of your application.
This would also help you make your users enjoy improved additions to the app, without having to wait for another version.
GTM Works Well With Third Party Tags

Google tag manager doesn’t just give you a platform to manage only Google enabled tags, you can also manage a lot of 3rd party tags as well.
Tags from Twitter, Facebook, and Bing Ads. You can create a custom tag if what the tag you want is not available.
There is no limit to what you can track on Google Tag Manager!
What To Track In Google Tag Manager
Whether you have an ecommerce website, blog, service websites, real estate search portal, or even a gaming mobile app. You can track every sort of user activity on your website with google tag manager, including:
- Link Clicks
- Pdf Downloads
- Add To Cart Clicks
- Remove From Cart Clicks
- Form Abandonment
- Calls Made
- Time Spend On Page
- Scroll Depth
- Cart Abandonment
- How Users Get To The Site
Before Custom Templates On Google Tag Manager
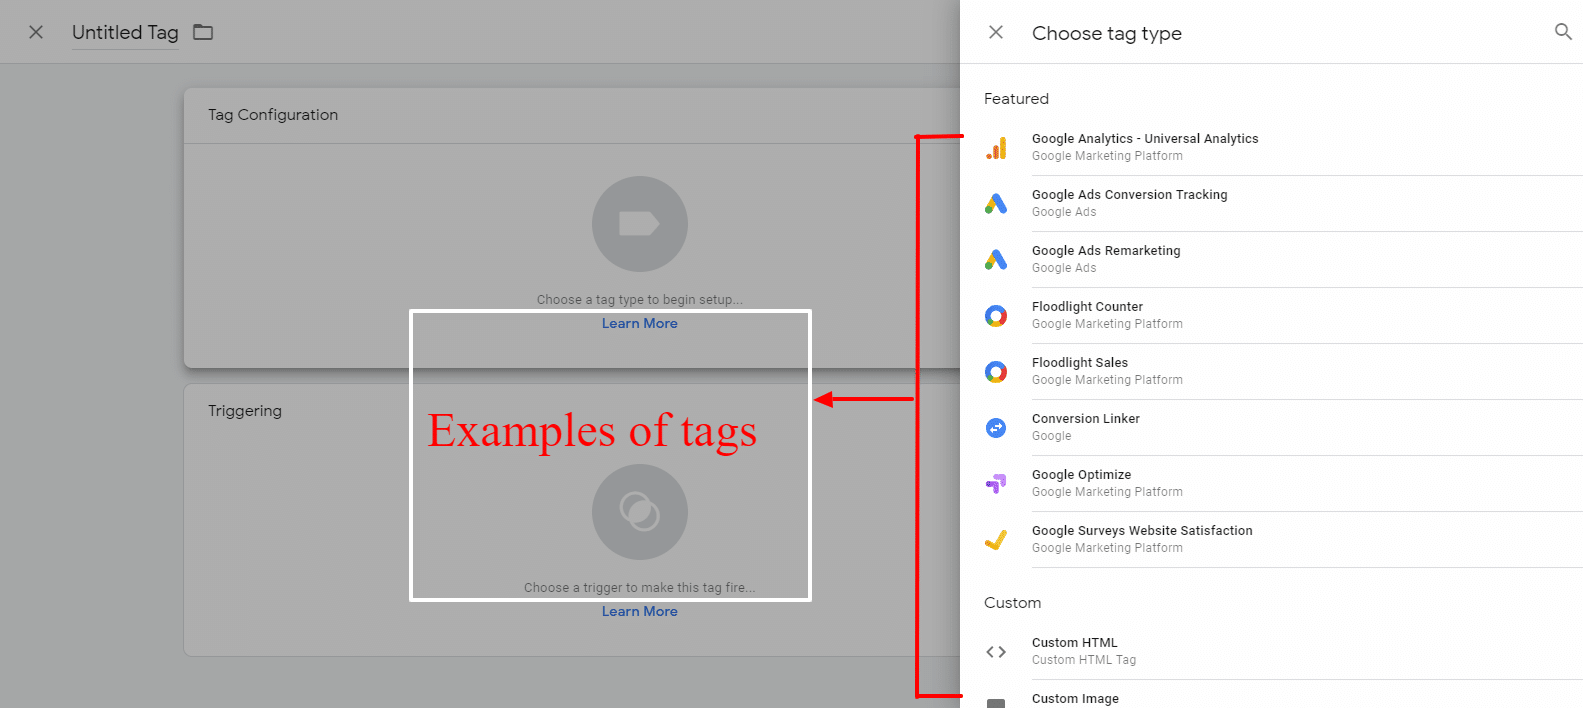
Before the custom templates for tag manager, using GTM to create a custom tag would mean that you would have to create a custom tag or variable by placing the code snippet of that tag or variable.
It involved you choosing to create a custom tag from the options. After signing up and creating a container, you can click to select a tag, then you select “create custom tag” to place the raw code snippet of the tag that you want to use on the space provided.
So, it had to be done by someone with website development skills. Creating custom codes can cause vulnerability for people who are not very skilled in web dev.
This can cause errors which would result in a lot of back and forth, therefore reducing the efficiency of the marketing team.
With Custom Templates In Google Tag Manager
A custom template on GTM makes it easy for you to create your custom tags and variables without having to edit or work on codes.
With custom templates, you can now create tags without the help of a developer, because all you have to do is add and select an input on the user interface. The custom templates feature also makes custom codes much more secure and makes it much simpler for anyone to work with these codes.
Input the figures on the user-friendly interface and save. Other people on your workflow space can also use the custom tag or variable that you have created.
Here Is How To Set Up Google Tag Manager With Custom Templates
This is not a step by step guide on how to set up GTM. Google has done its part by providing a tag manager tutorial on how to set it up. Follow the link, read it, and you should be fine. It’s inserting the tag on your website is the second step.
How To Insert Into Simple Websites

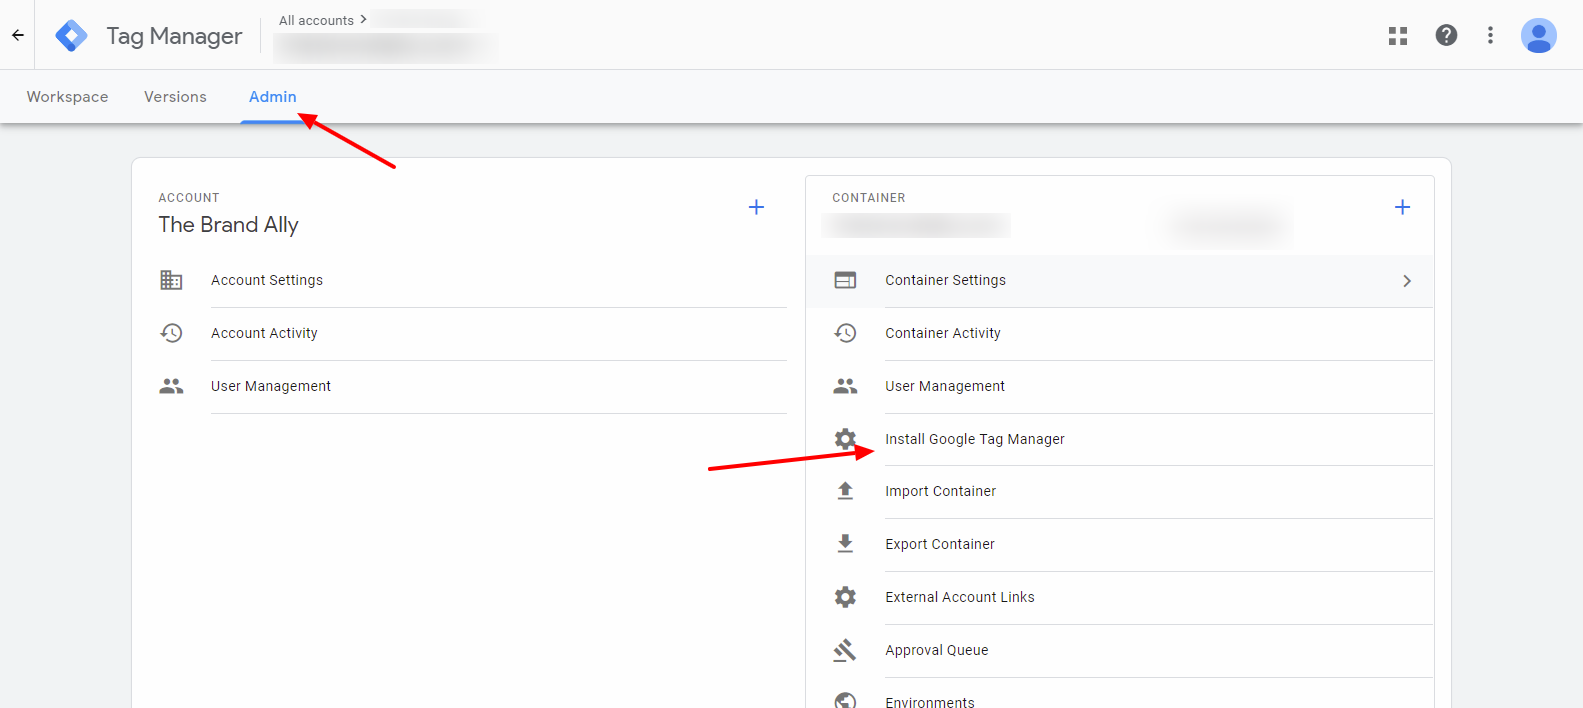
For the basic HTML websites, insert the <script> code in the <head> of your code, and the <noscript> code after the <body> tag in your code editor. This code is usually shown to you when you open your GTM account for the first time. If you ignored that earlier, then go to “admin” and click on “install google tag manager.”
You should see the code there. Insert that code on your website.
If you have a WordPress site and you don’t want to mess with code, install a plugin.
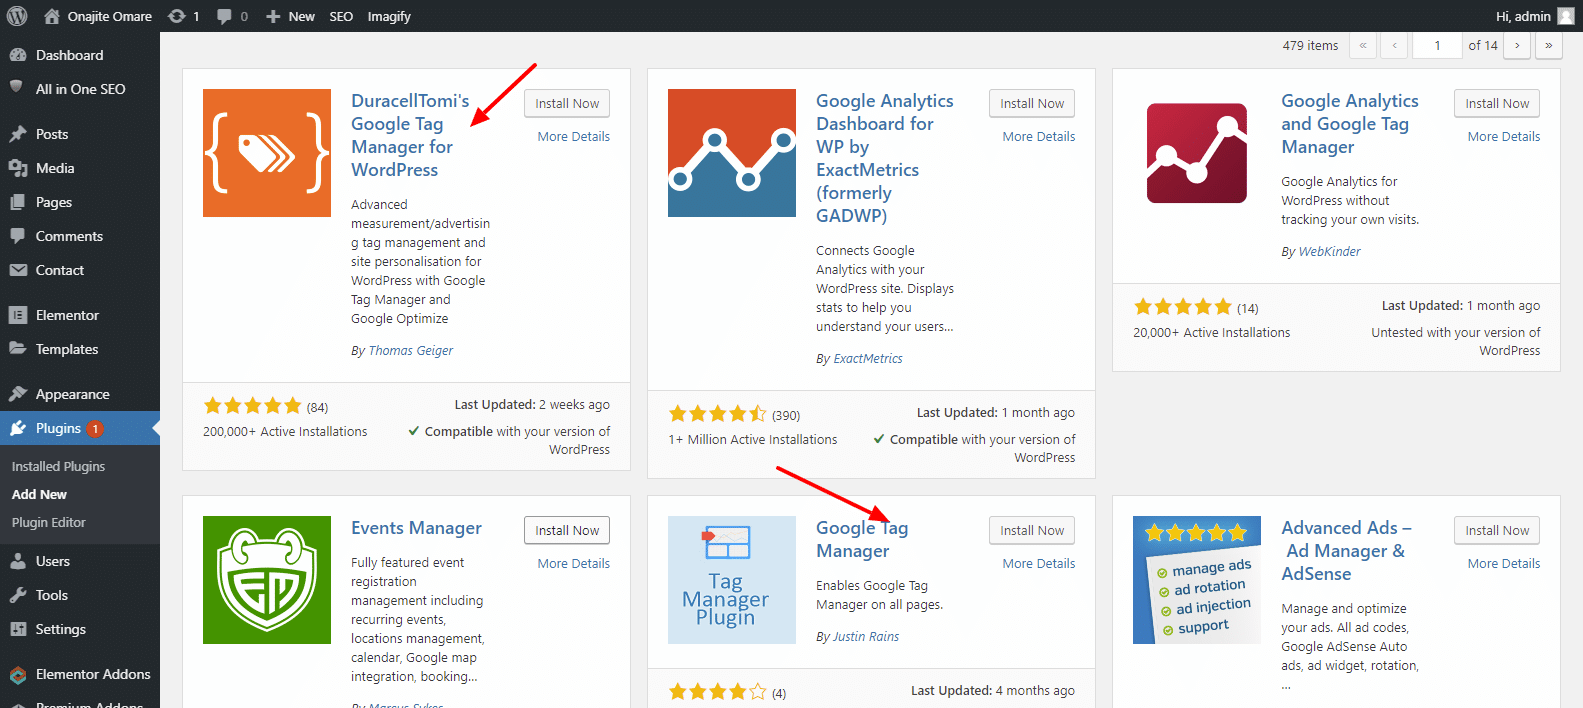
DuracellTomi’s Google Tag Manager for WordPress isn’t a bad option, plus it’s one of the frequently updated plugins.

Your Google tag manager ID differentiates you from every other GTM user. You can find it on your dashboard or in the code snippet. It looks like this GTM-XXXXXXX. “x” for the characters that will be in yours.
Click on where you want the code snippet place, check on the other settings to put everything the way you want.
Google Tag Manager Makes Life Easier
GTM helps you make better marketing decisions because you have vetted and true data. The custom template makes it even better because, after the initial GTM installation, you don’t necessarily need tech hand to set up new analytics tracking. It eliminates time wasting, gives you much more control and ensures that you get all user activity detail that you need from your web pages.
What’s your experience with GTM? Let’s know in the comments. Are you having problems with using it? Let us know, and we’ll help you out.
The Brand Ally is a web design and digital marketing company. We provide great website designs, mobile app development, SEO, social media marketing, and Google Ads.